Reports | Student report
This firstly shows a new form, divided into two sections. On the left is the list of students, and some control buttons, and on the right is a window, the Printout Panel, which will show the reports as you build them up.

- Add class set adds all the students in the list to the Printout panel, producing a report for each, in the list order.
- Add selected allows you to select either
- individual students, by clicking on a single student in the list to select it,
- a block of students, by using Shift + Click to select a contiguous block of students, or
- several individual students, by holding down the CTRL key and clicking to select different single students.
These will be added to the Printout Panel in list order. If you want printouts in a different order, e.g. in the order that students are going to appear in interview appointments, then select them individually and add them individually.
- Clear printout panel deletes all the content from the printout panel. You may want to use this if you have made a mistake, or after printing some reports, you wish to print further without repeating pervious printouts.
- Return to grid assumes you have finished printing; it closes the Reports form and returns you to the grid.
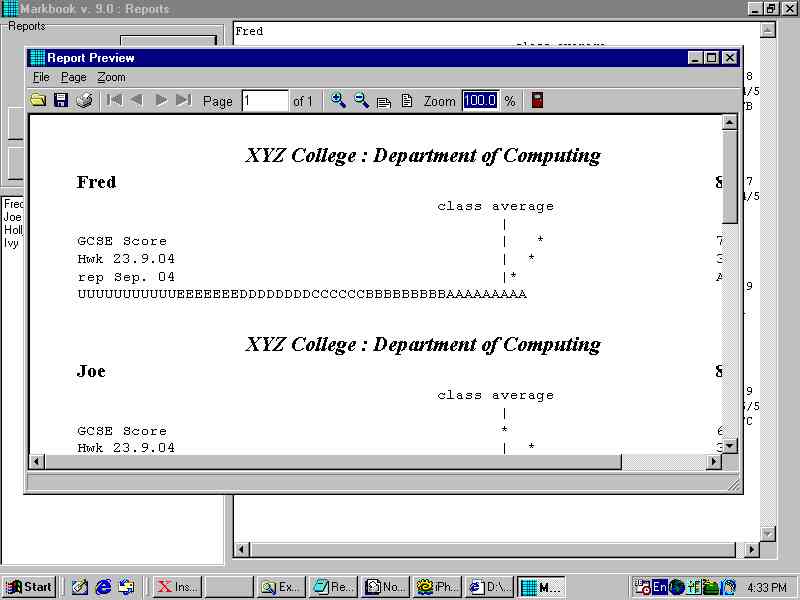
- Print starts the actual printing process. A box will appear giving you various print options, including by default Preview (so you can check the final appearance before committing to the printer) and Printer (which sends the output to your computer's printer).
Note that the actual printouts (as shown on Preview also) include headers and footers which you can set under Preferences. The data content is read from the Printout Panel. If you edit the printout panel by directly typing into it, rather than just letting Markbook90 fill it, then you may corrupt the printing process.